Most shower failures in New York apartments have nothing to do with the tile. The tile is fine. What failed is the layer behind it, or the layer that was never installed. Here is how waterproofing works, what the common systems are, and how to tell whether your contractor is doing it properly.
Water goes through tile assemblies
Tile is not a waterproof surface. Grout is porous. Caulk cracks. Water that hits a shower wall every morning finds its way through the joints and into whatever is behind. In a shower built correctly, it meets a continuous membrane, runs down it to the drain, and leaves. In a shower built wrong, it meets cement board or drywall, soaks in, and rots the framing, feeds mold, and eventually stains the ceiling of the apartment below.
That last part is why co-op boards care so much about bathrooms. A leak in a 6th-floor shower is a problem for the 5th floor first.
The components of a waterproofed shower
A sloped base. The shower floor must slope to the drain, roughly a quarter inch per foot. Under the tile that slope is built with a mortar bed or a preformed foam pan. A flat floor with the slope only in the tile is wrong.
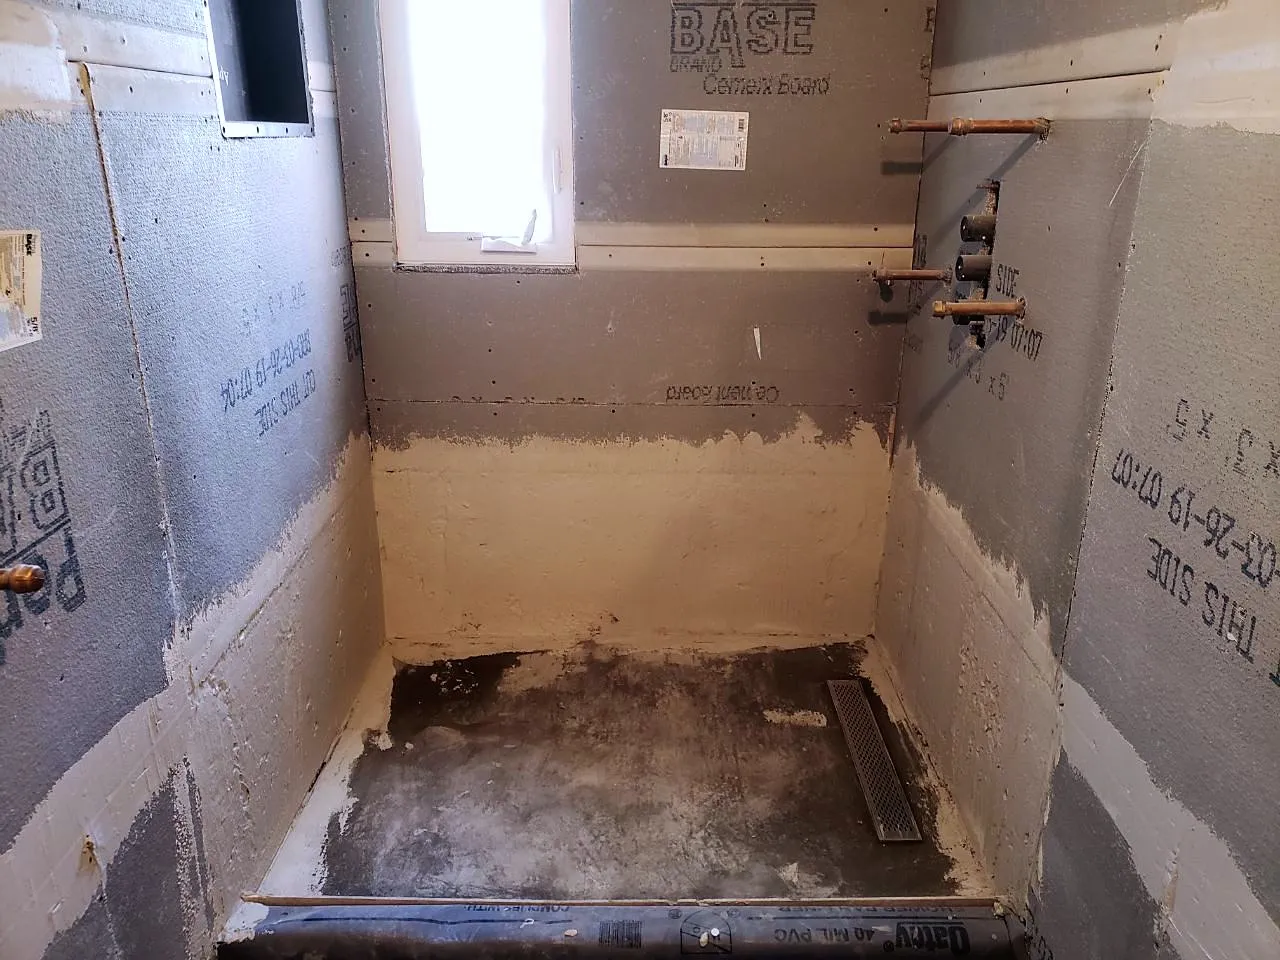
The membrane. A continuous waterproof layer over the walls and the floor, lapped so water always runs onto the layer below it, bonded or clamped to the drain. It covers every corner, seam and penetration: the valve, the showerhead arm, the niche, the bench.
The drain assembly. Either a two-part clamping drain that grips the membrane between two flanges, or a bonding-flange drain made for the membrane system. Water that reaches the membrane must be able to enter the drain below the tile, not just at the grate.
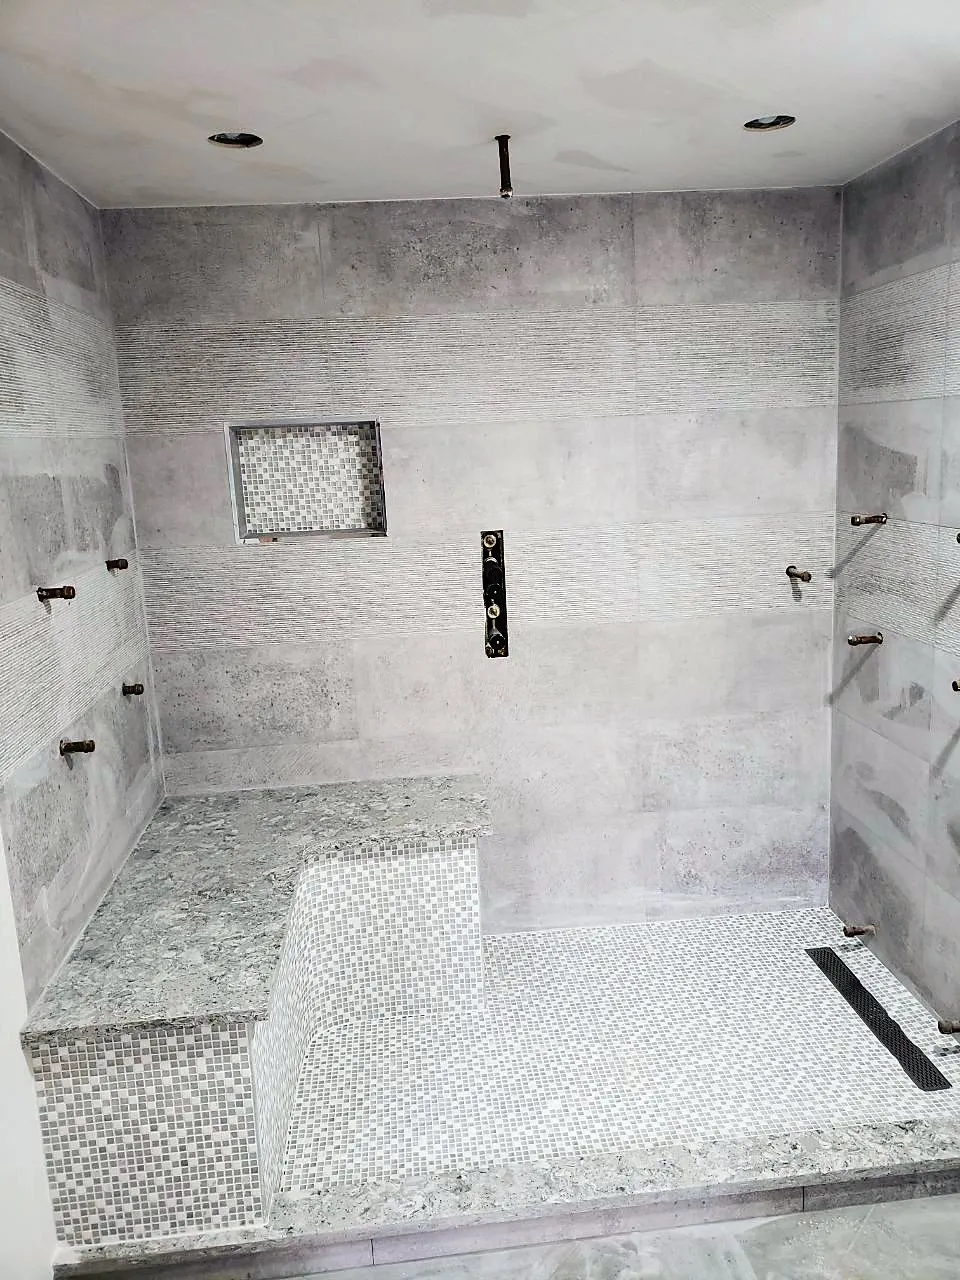
Curbs, benches and niches. Each one is a place where water sits and a place where membranes get cut short. Every surface and every seam is wrapped.
The systems you will hear named
Sheet membranes. Thin polyethylene sheets bonded to the walls and floor with thinset, with preformed inside and outside corners and seam strips. Schluter Kerdi is the best-known. Consistent thickness, visible coverage, fast to install when the crew knows the system.
Liquid-applied membranes. Rolled or brushed on in two or more coats to a specified thickness, with fabric reinforcement at corners and seams. Flexible, good for odd shapes, but thickness depends on the installer, so a wet-film gauge and the manufacturer’s coverage rate matter.
Foam board systems. Waterproof backer boards with sealed seams that replace cement board and membrane in one layer. Fast and light; the seams and fasteners are where the attention goes.
Traditional mortar bed with a pan liner. The older method: a PVC or CPE liner under a thick mortar bed on the floor, with a clamping drain and weep holes. Done well it lasts for decades; it is heavier, slower, and the walls still need their own membrane.
We use sheet and liquid systems most often, chosen for the room and installed to the manufacturer’s instructions so the warranty holds.
What a bad job looks like
Drywall or greenboard in a shower. Cement board with no membrane because “cement board is waterproof.” Membrane that stops at the top of the tub or a foot above the pan. Corners taped but not sealed. A niche cut into the wall after the membrane was finished. Screws through the membrane on the floor. A drain that is not connected to the membrane. Tile set the same day the liquid membrane went on. None of these are visible once the tile is up, which is why they happen.
Questions that tell you who you are hiring
Which waterproofing system will you use, and can I see it installed before the tile goes on? How is the membrane connected to the drain? How do you handle the niche and the bench? What is the cure time before tile? Is the installation covered by the manufacturer’s warranty? A contractor who does this right will answer in detail and will be glad you asked. On our jobs you get a photo of the finished membrane before any tile is set.