A real sauna in a New York home used to be a rarity. It is not anymore. We build them into basements, off bathroom suites and, with the right building, into apartments. Here is what matters when you plan one.
Where it can go
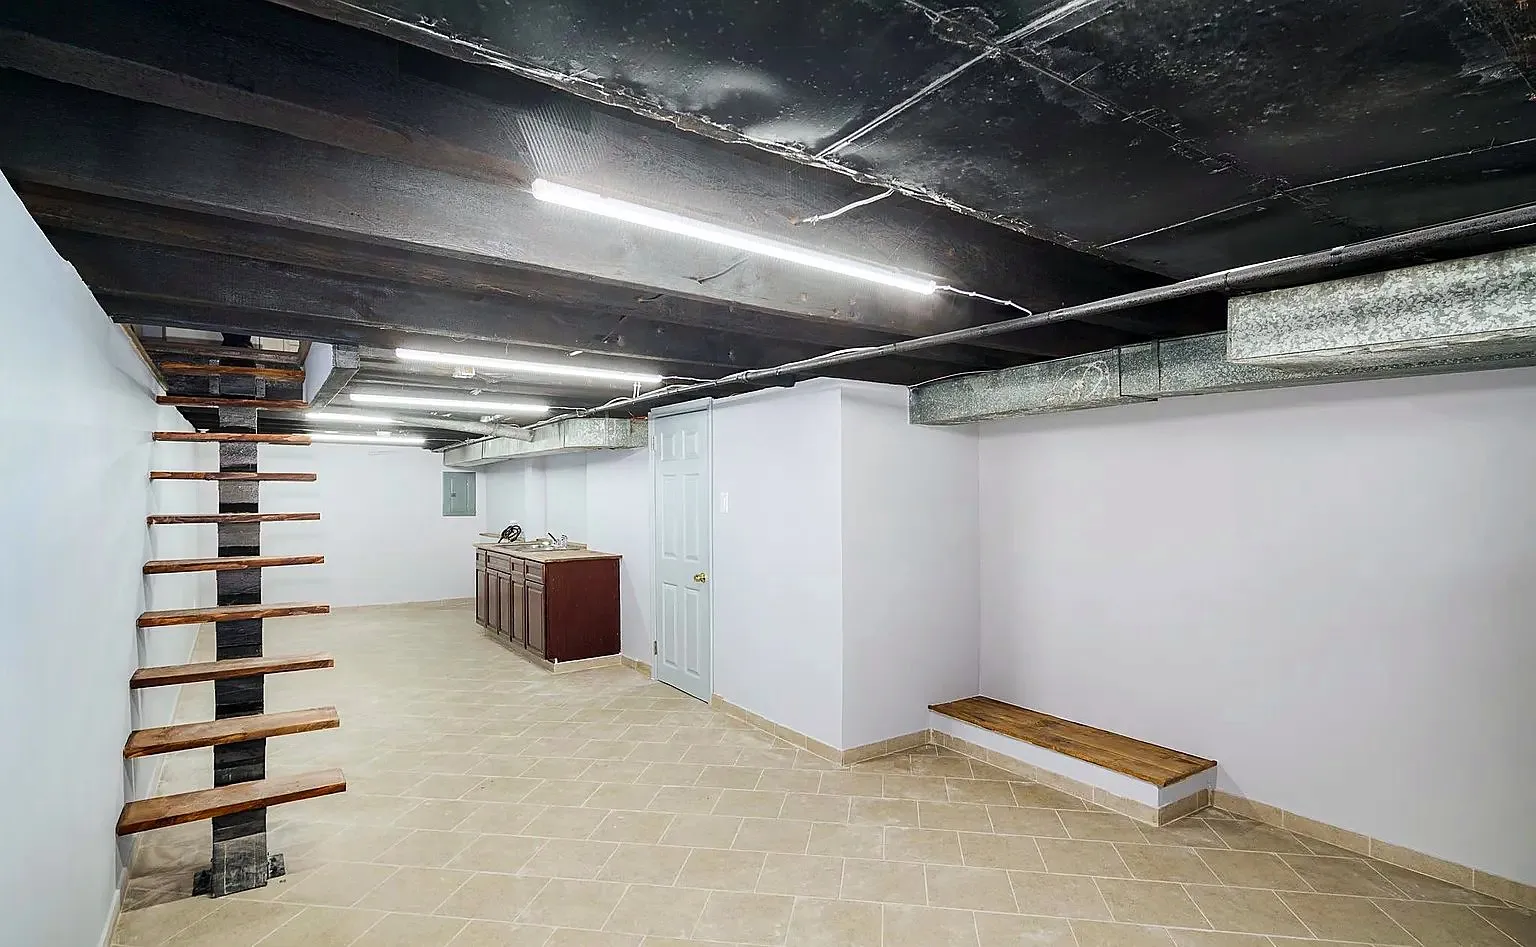
Basements are the most common and the easiest. Concrete floors handle water and weight, drains are often close, and the space is already set aside from the living area. The planning point is moisture: a basement sauna needs the same moisture assessment as a finished basement, plus ventilation to move humid air out.
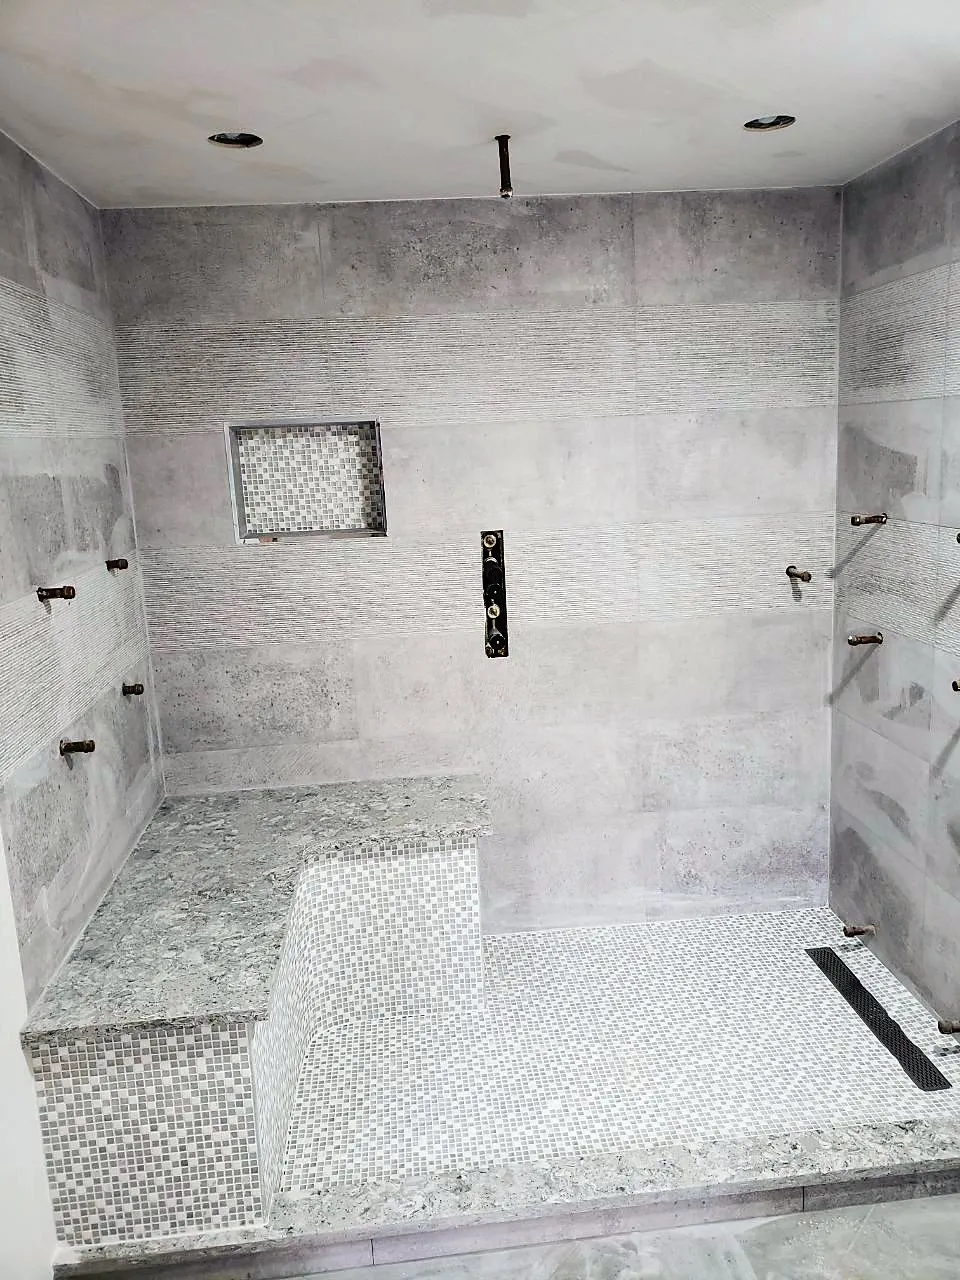
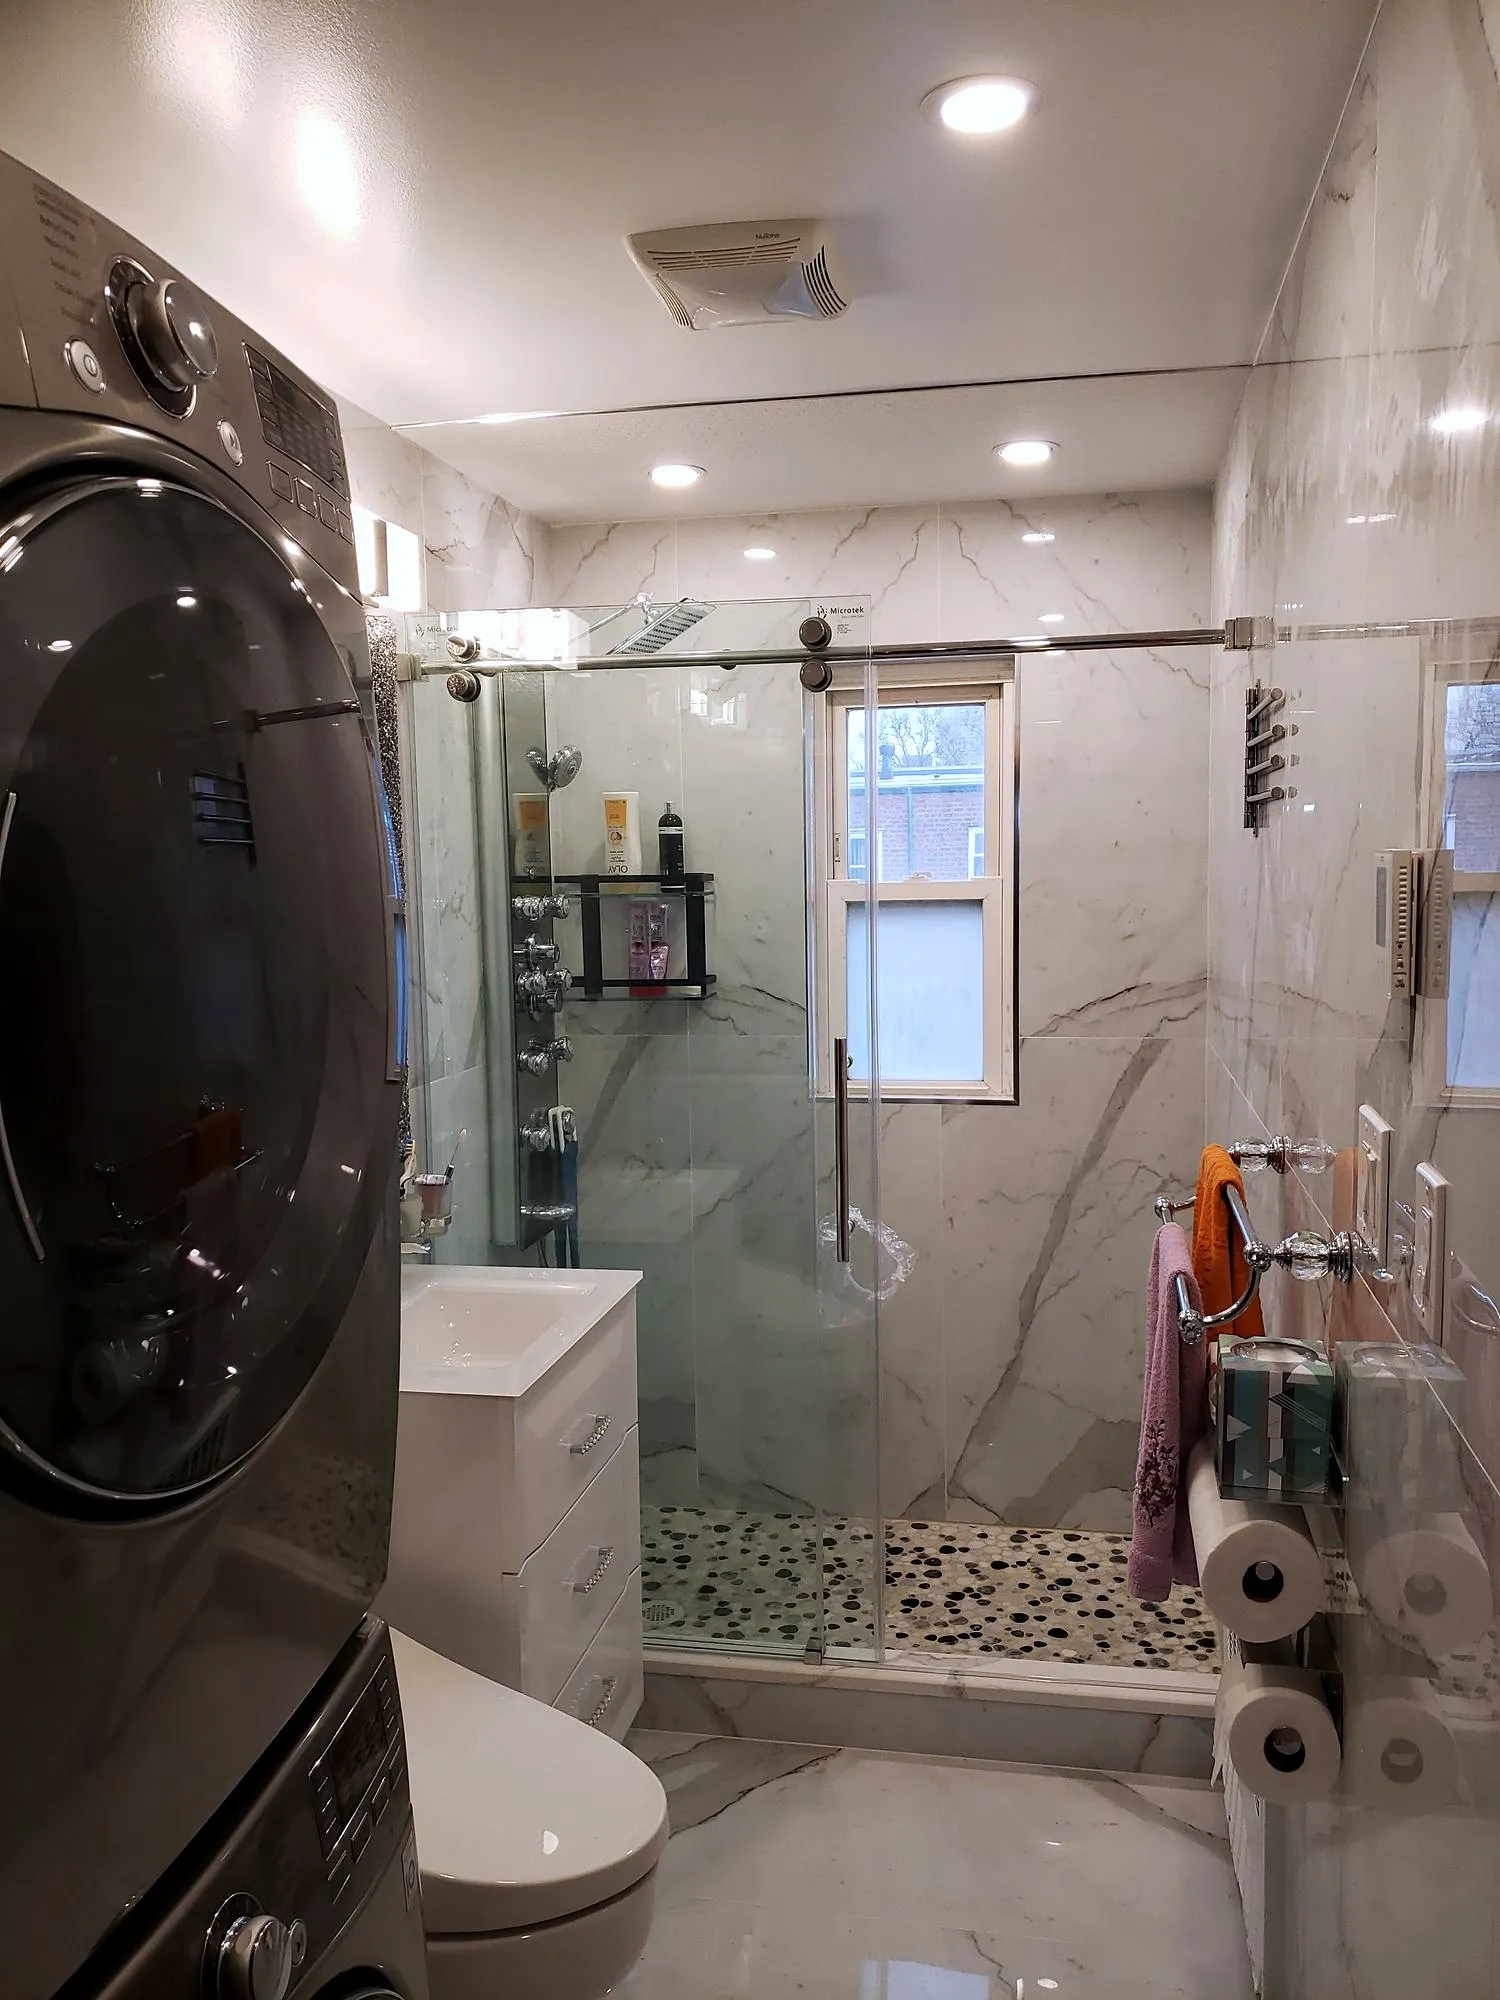
Bathroom suites are the nicest. A sauna door off the bathroom, a shower a step away, a tiled floor that continues under the benches. This works in houses and in larger apartments where the bathroom can give up or borrow a few feet.
Apartments depend on the building. Electrical capacity for the heater, ventilation to the exterior or into a mechanical system, floor loading, and board approval. Many co-ops and condos will allow it with drawings and an electrician’s letter; some will not. We assess the panel and the floor before anyone falls in love with the idea.
The parts of a sauna that matter
Framing and insulation. The room is framed like a small, well-insulated box. Insulation keeps the heat in and the heater cycles short.
The vapor barrier. A foil-faced barrier on the warm side of the insulation, taped at every seam, is what keeps sauna humidity out of your walls. Skip it and the framing eventually rots. This is the step kits and cheap builds get wrong most often.
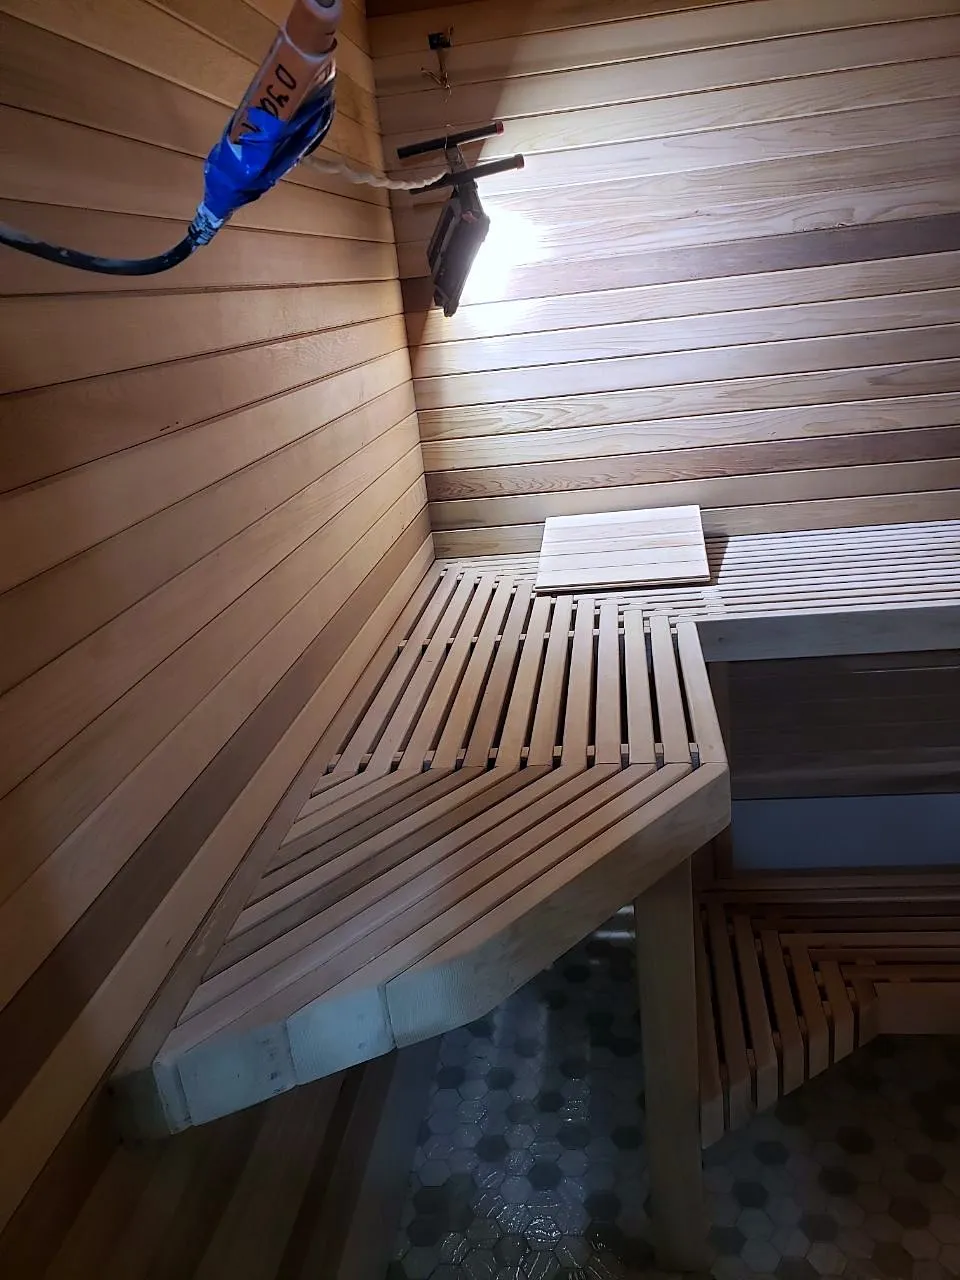
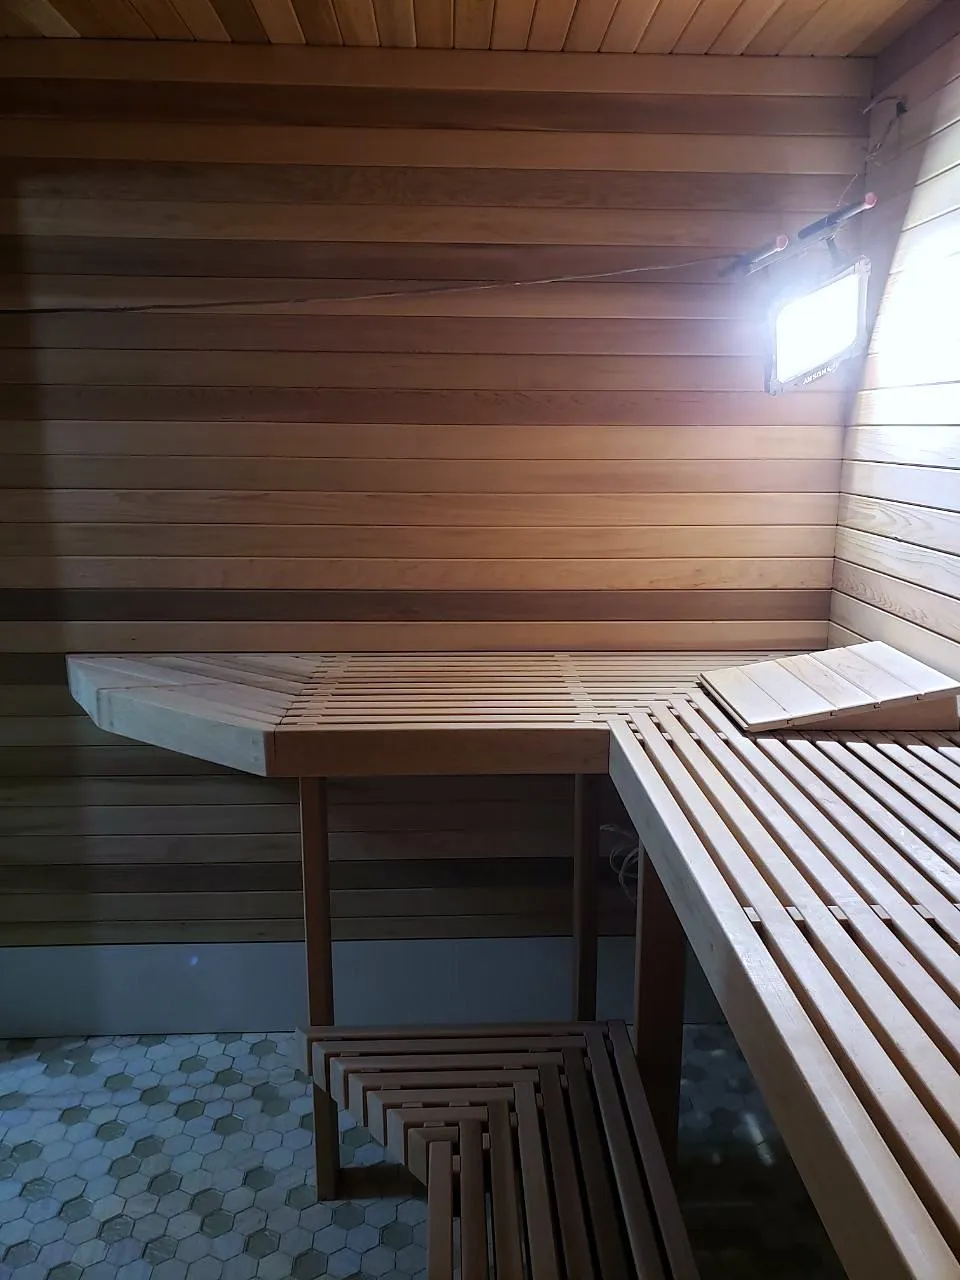
Cedar. Clear, kiln-dried cedar tongue-and-groove on the walls and ceiling, blind-nailed so no fastener head touches skin. Western red cedar is the standard. Other woods work; cedar smells right and resists moisture.
Benches. Two tiers, slats spaced for airflow and drainage, rounded edges, removable for cleaning. Bench depth and height decide whether the sauna is comfortable for lying down or only for sitting.
The heater and its circuit. Residential electric heaters typically need a dedicated 240-volt circuit of 30 to 50 amps, sized to the heater, with the heater guard and clearances the manufacturer specifies. A licensed electrician installs the circuit and pulls the electrical permit.
Ventilation. An intake low near the heater and an exhaust high on the opposite wall, ducted out of the room. Without it the air goes stale and the humidity goes into the house.
The door. Full glass, cedar with a window, or a frameless glass front. Doors open outward, with no latch that can trap someone inside.
Permits and approvals
In a house, the electrical work is permitted and inspected; the carpentry typically is not. If you add a drain or a shower next to the sauna, that is plumbing and is permitted. In a co-op or condo, the alteration agreement governs: expect to submit drawings, the heater specification, the electrician’s license and a plan for ventilation. Boards are mostly concerned with moisture, electrical load and fire safety, and a clear package answers all three.
Timeline
A standard room takes one to two weeks on site once the space is ready, plus heater and door lead times of two to six weeks. If the sauna is part of a basement finishing or bathroom project, it slots into that schedule after the wet work is done.
Our basement sauna build
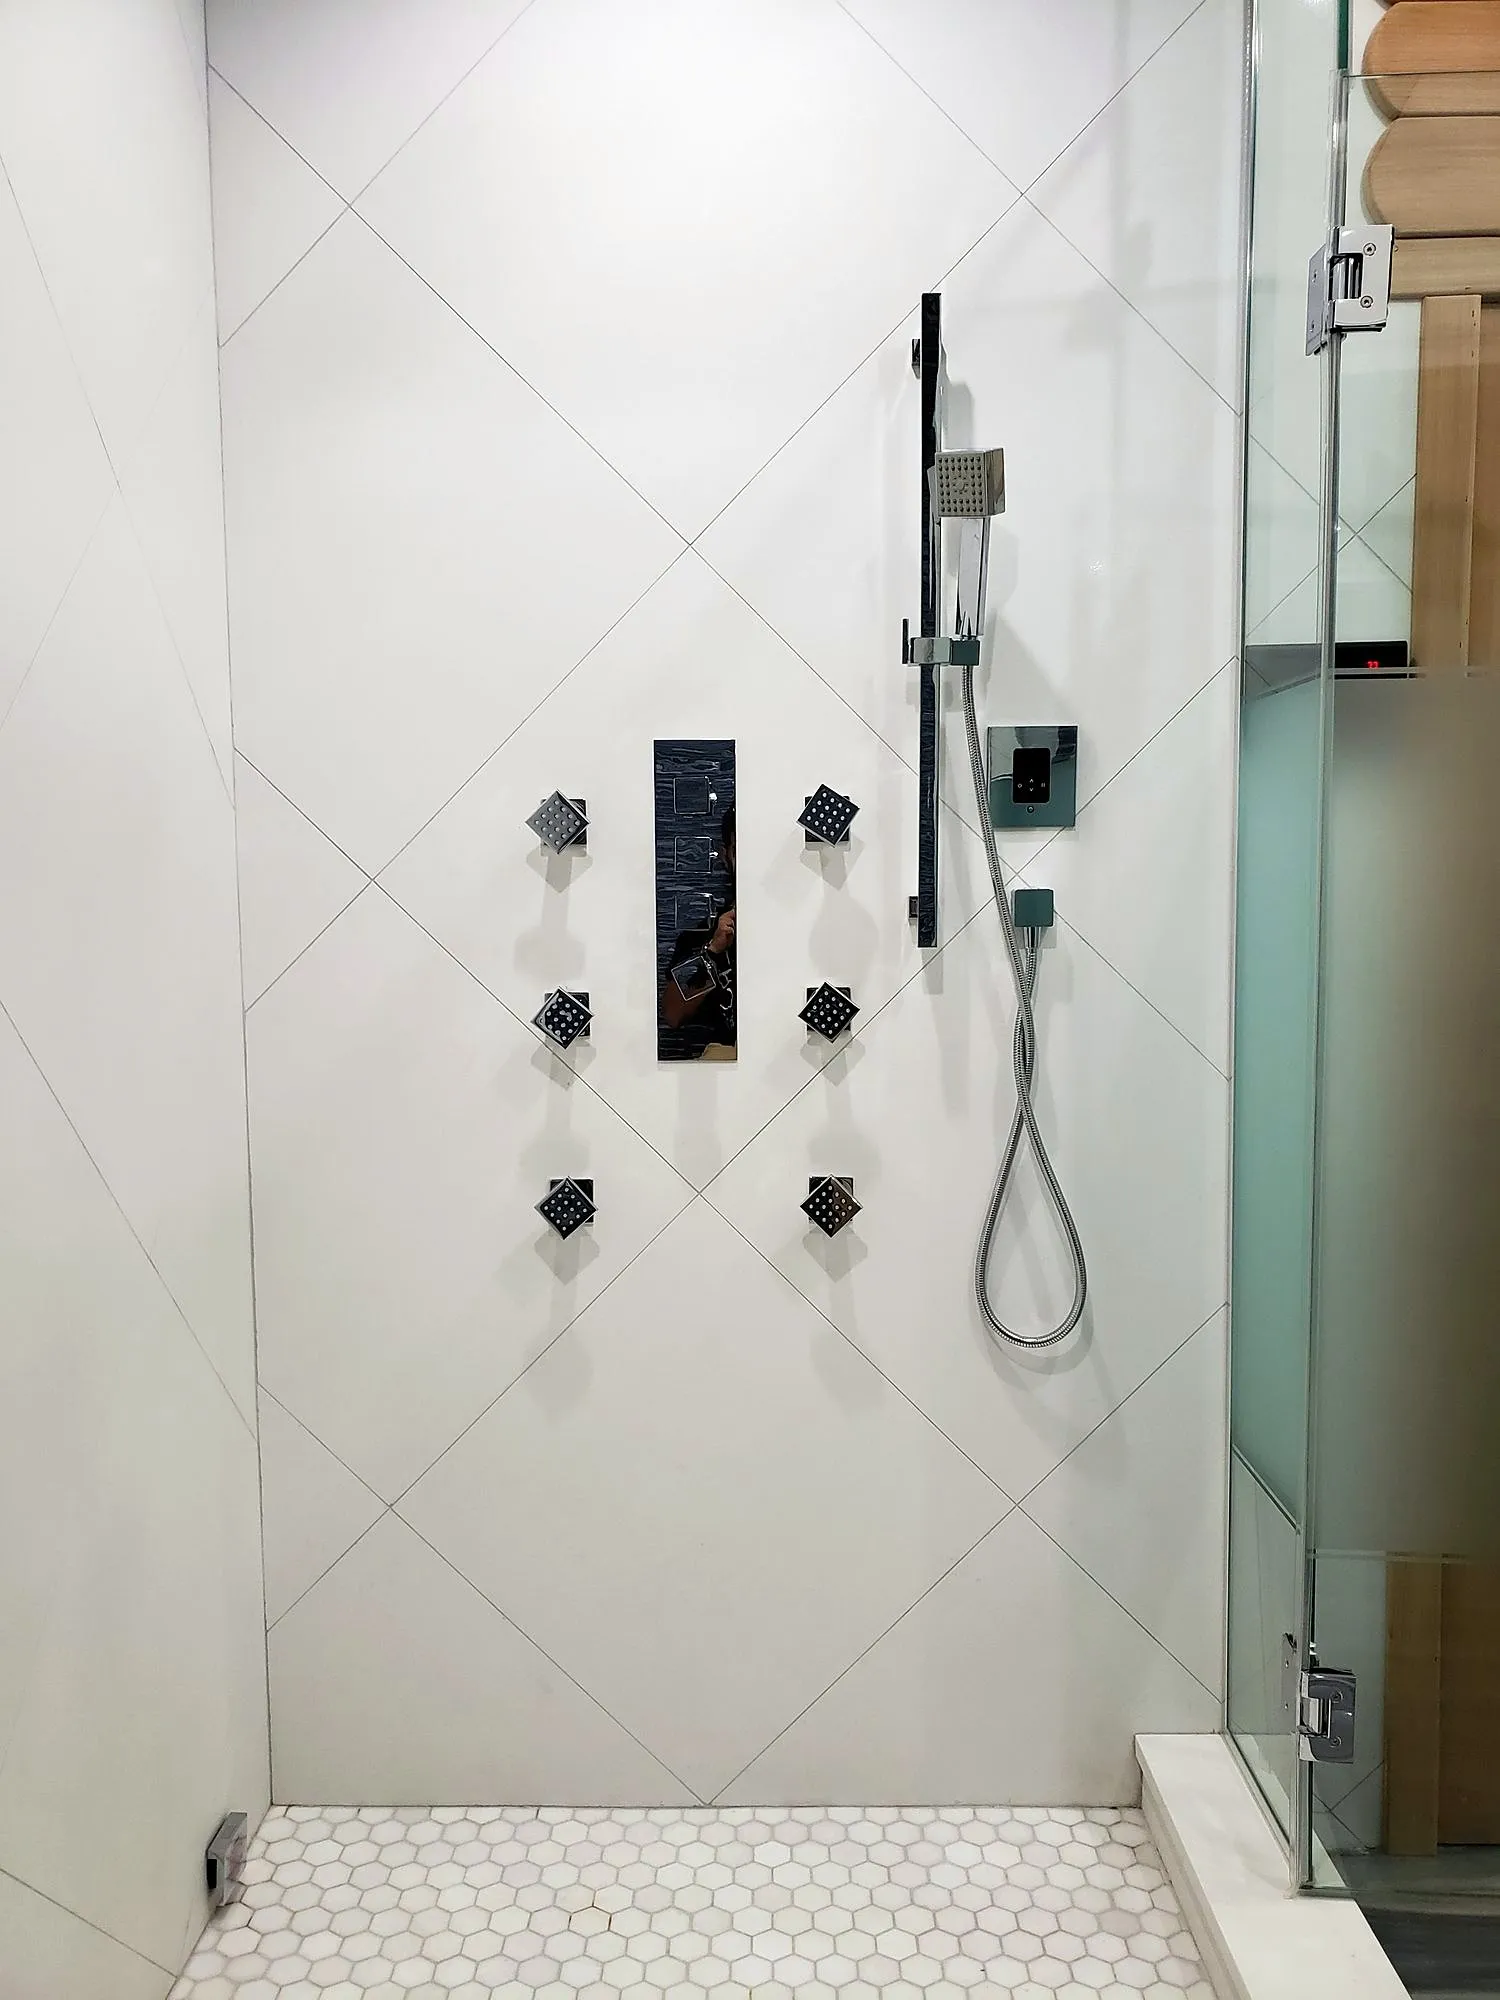
The sauna on our projects page started with cutting the slab to run drains for the adjoining bathroom, then framing to fit the space, insulation, a sealed foil barrier, clear cedar lining, two-tier benches and a glass door onto a hex-tile floor. The heater runs on its own circuit installed by a licensed electrician. It took six weeks together with the bathroom beside it. See the photos and the scope in the project entry, then tell us about your space.